After all of that madness... the subframe mayhem began.
Mar 30, 2006 wrote:So um... yeah. Last Sunday at Black Hills I managed to crack my subframe. I didn't hit anything, or do anything out of the ordinary compared to how I usually drive.
They only thing that really makes sense is that this was a fracture that has been compounding over time. Possibly a hairline fracture that has slowly grown with each aggressive-arsed clutch kick.
I talked to Turner Motorsport about their billet aluminum subframe bushings. In leiu of trying to press the bushings in on our own (they have an uneven pressing surface... requiring another 1337 BMW special tool), I decided to have them assemble one for me. They are going to put the billet aluminum differential bushings in as well.
It should ship out tomorrow (hopefully)... leaving a full week to try and get it into the car. One tricky part of the swap is going to be reinforcing the subframe mounting points with the Turner reinforcement kit. I'm hoping we can get everything done before next weekend... but there is a LOT of work on the road ahead. I just hope that once we get that subframe off the car there isn't more damage that I can't see. [praying to God]
I'll keep ya'll posted... that's going to be one solid rear-end when we're done!
andysapp wrote:Thanks man! It's going to be a project for sure. That reinforcement kit has to be welded in... and I am not a welder, lol.
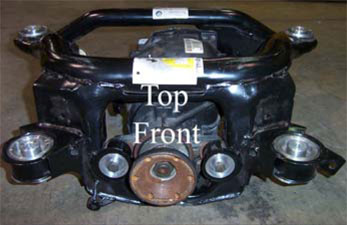
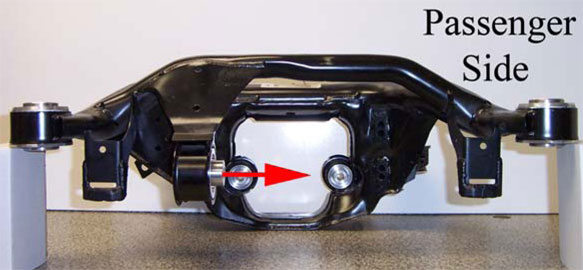
The guys at Turner are interested to see the extent of the damage. They said they've never seen someone break the subframe where I broke it. Usually it tears out of the floor of the trunk like so:
This kit is what'll make sure that doesn't happen:
This project was the most intense work I had done on the car to date. Keep in mind... that in 2003, I barely knew how to change my own oil... let alone go through all of this:
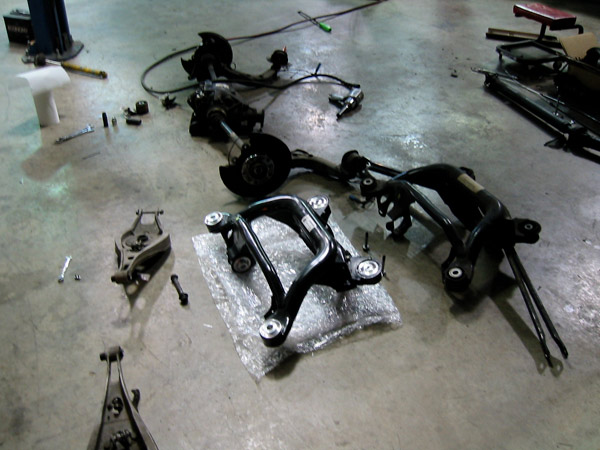
April 06, 2006 wrote:The subframe and reinforcement kit arrived yesterday. I spent this evening pulling the rear-end out of the car, disassembling the components on the old subframe, and building the new rear-end. That is complete, now all we have is the reinforcement.
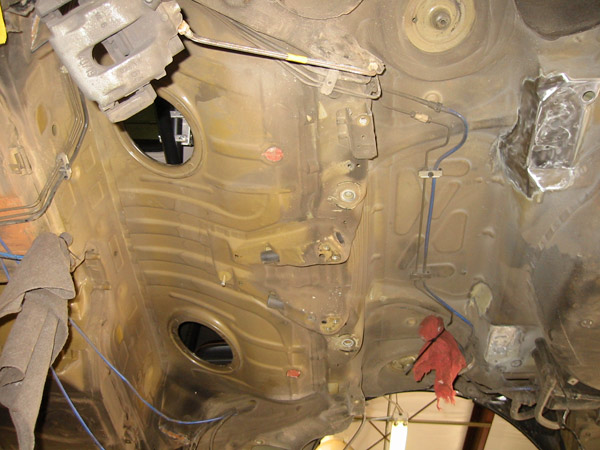
I'm actually glad my subframe cracked where/when it did - because sure enough - just as Turner R&D advised... there were cracks in the driver-side rear subframe mounting point that I couldn't see until the subframe was removed.
We have to drop the gas tank tomorrow morning... I have to keep grinding all the undercoating where the plates will be welded... remove ECU, disconnect alternator & battery, and get to welding. Once the plates are welded to the underbody, we have to cut into the car in the trunk above the rear mounting points, and weld the opposing side of the underbody to the lower plate reinforcement... then weld plates up top to cover & reinforce where we cut. After all that I can bolt that new rear-end in for alignment and big angle drift action! I can't wait to see how the car feels.
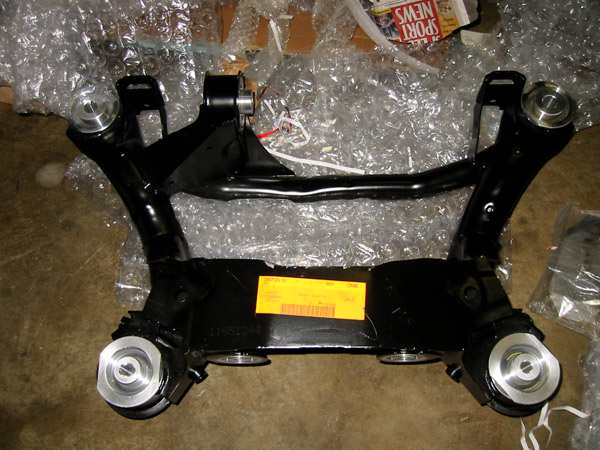
Fresh out the box...
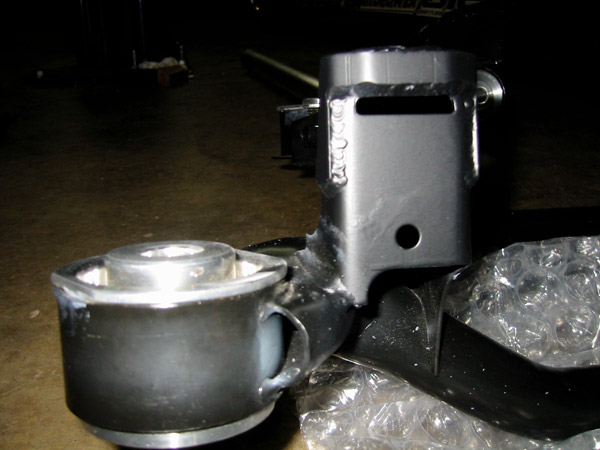
Turner also reinforced the rear sway bar mount:
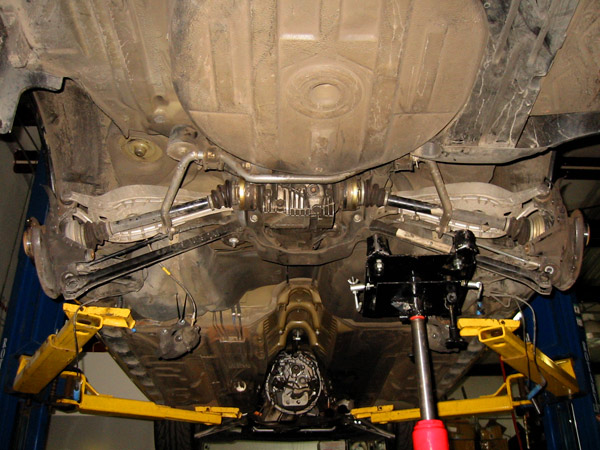
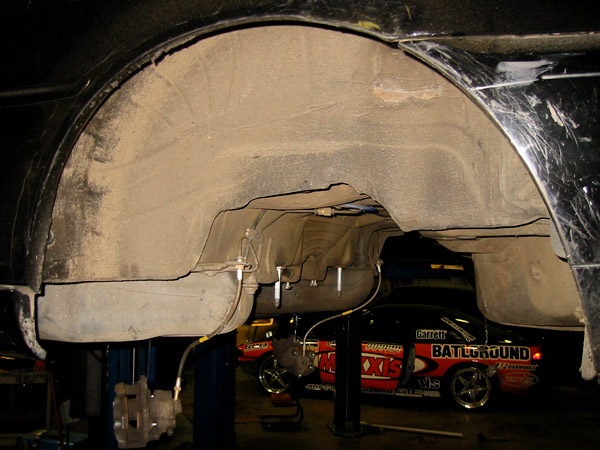
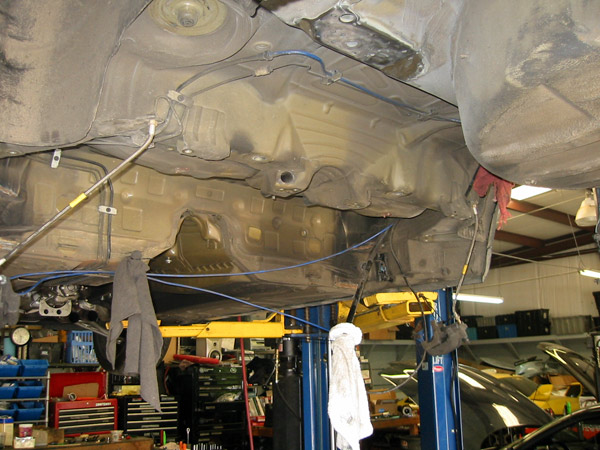
Almost ready to yank-r-out...
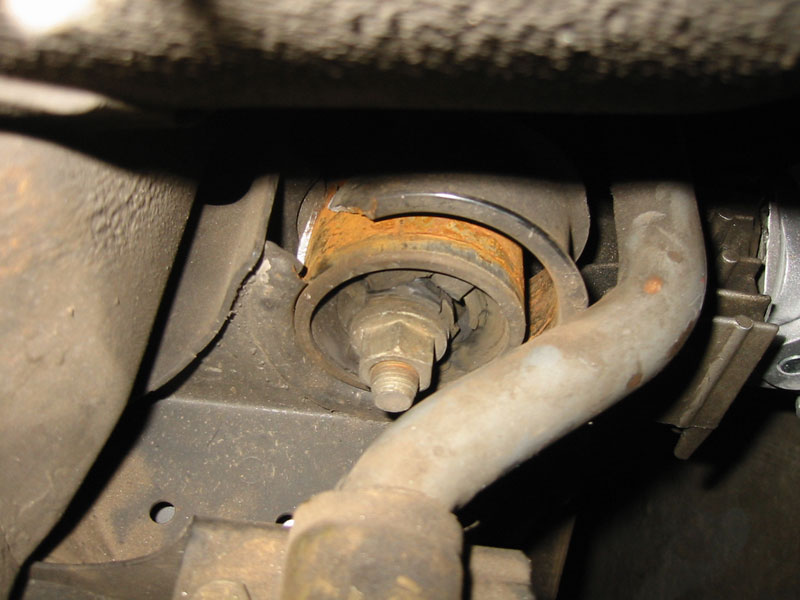
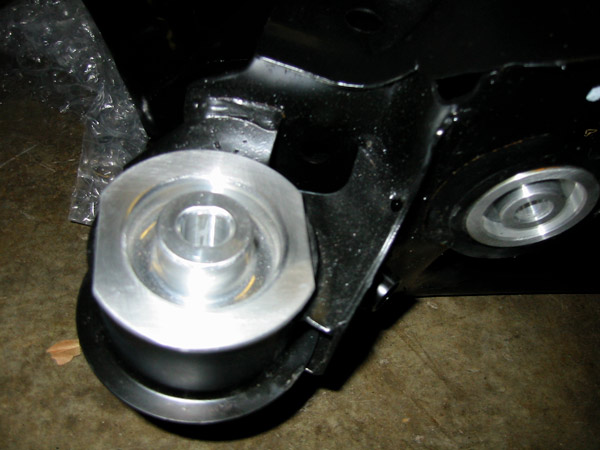
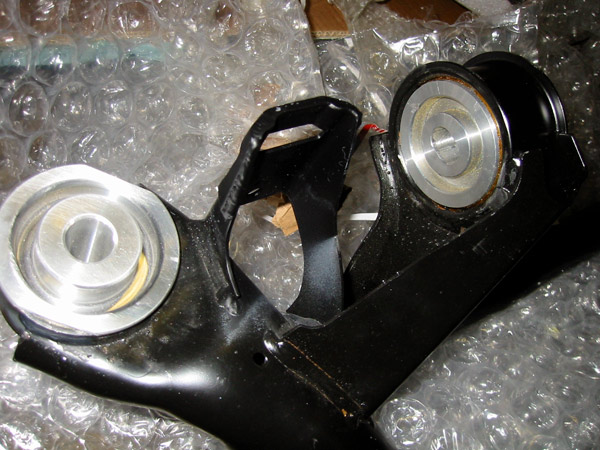
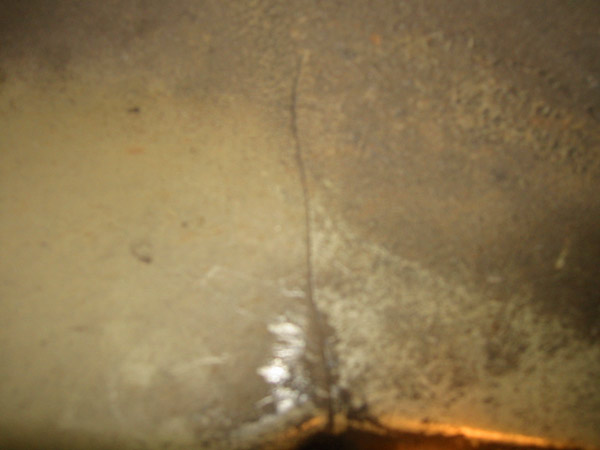
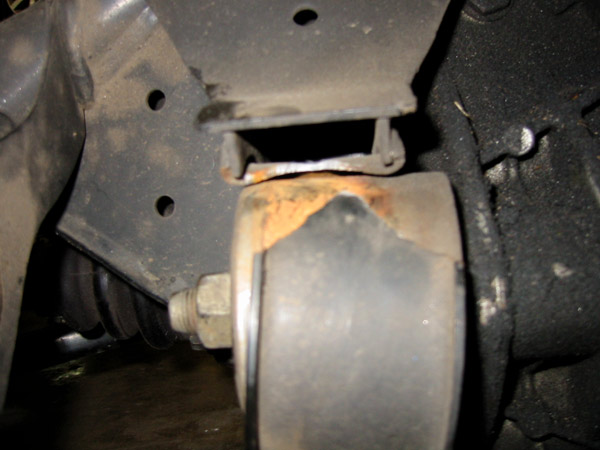
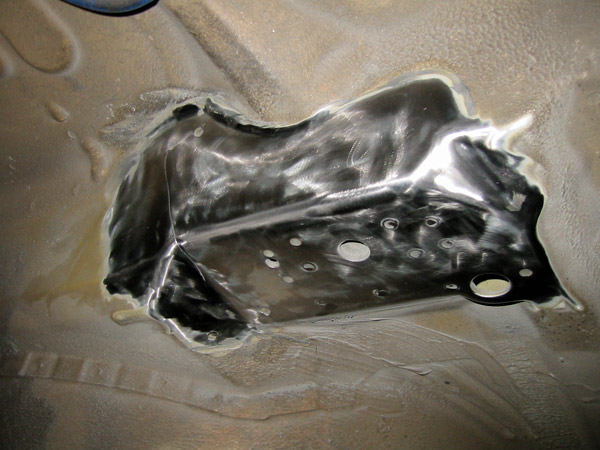
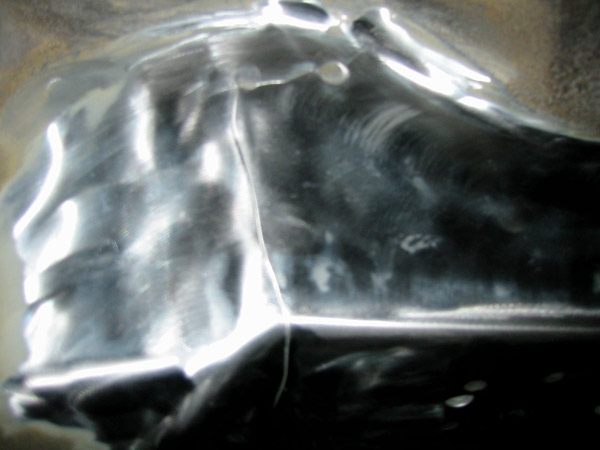
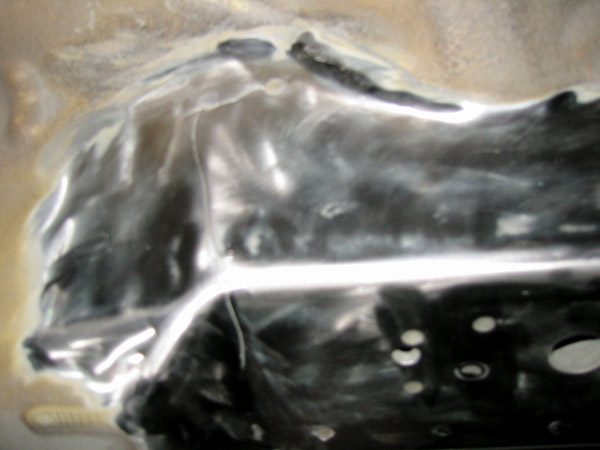
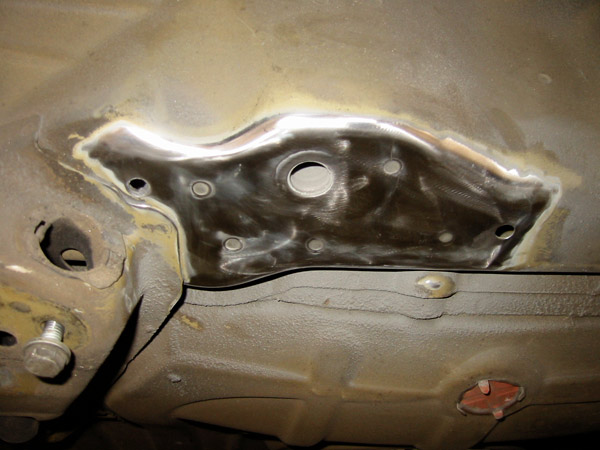
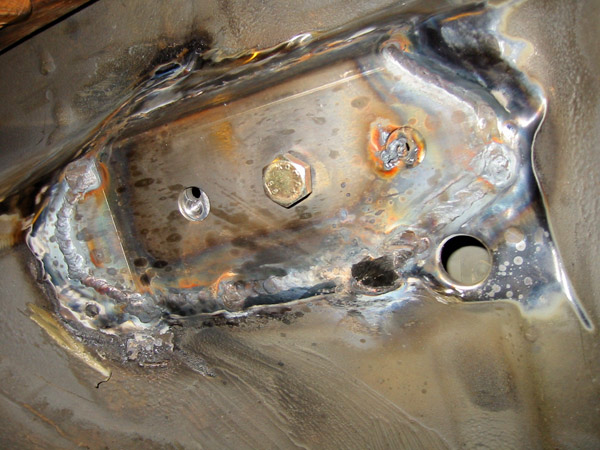
The crack near the mounting point:
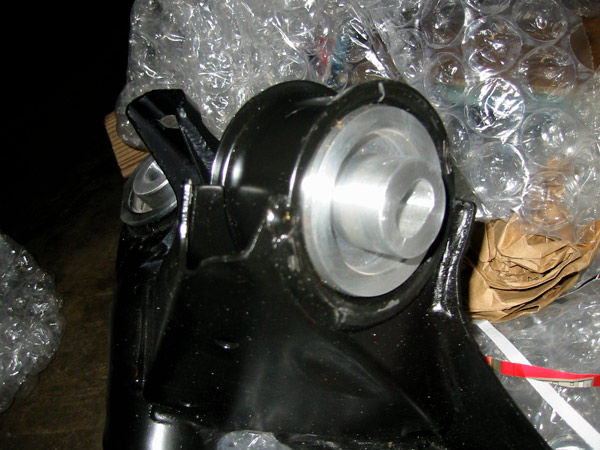
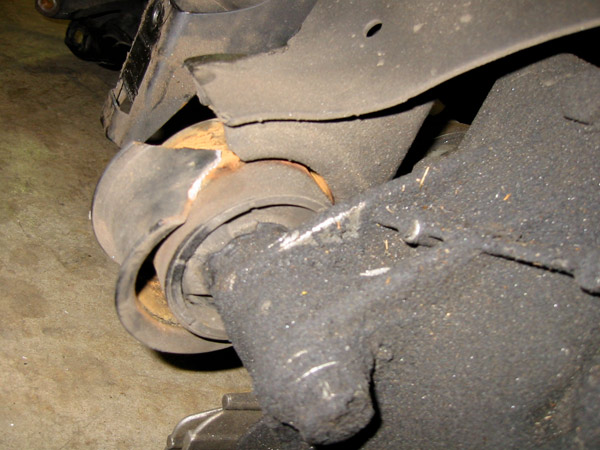
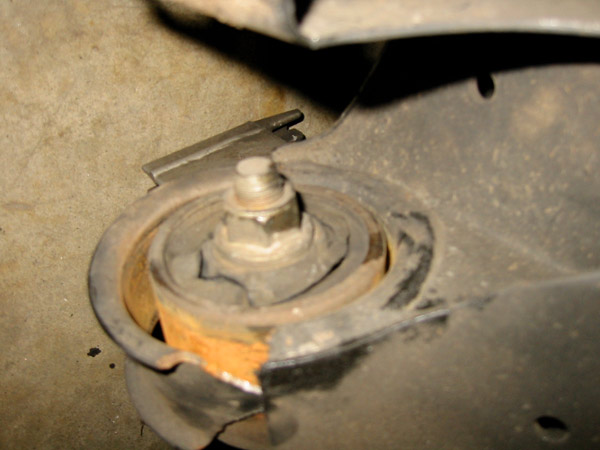
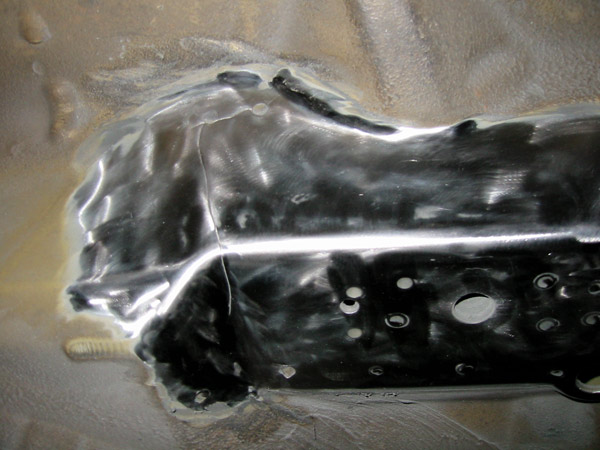
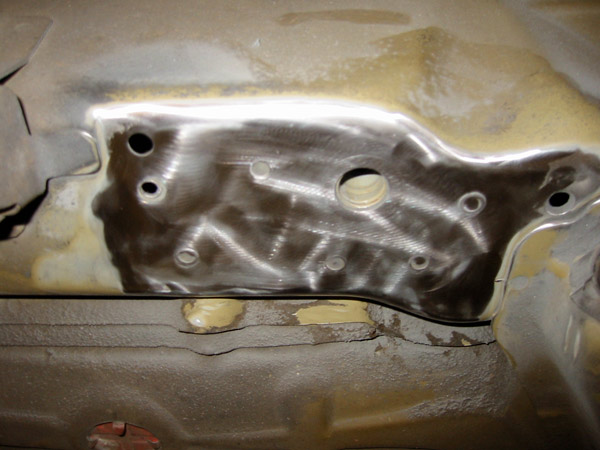
Another view of the cracked subframe:
Rear end: out.
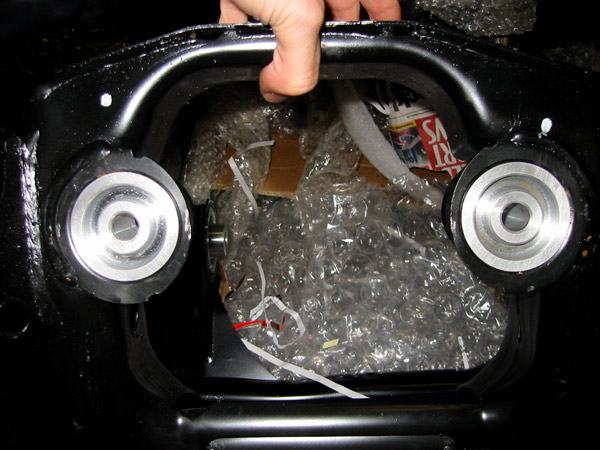
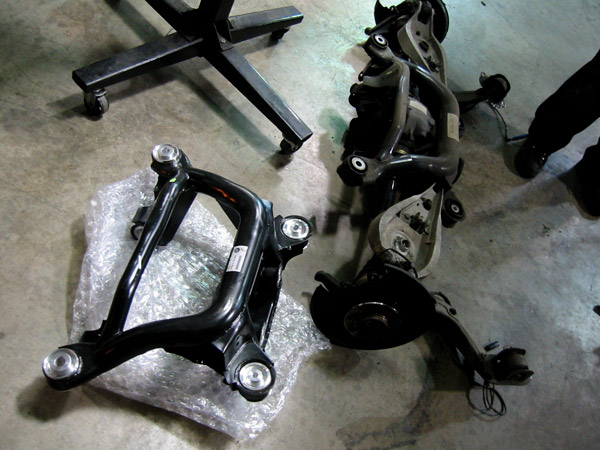
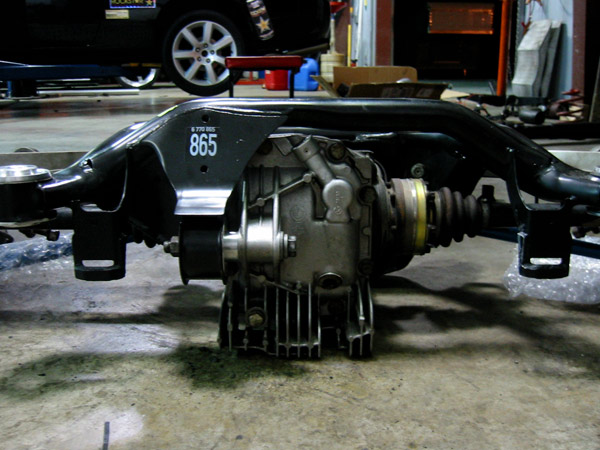
New vs. Old:
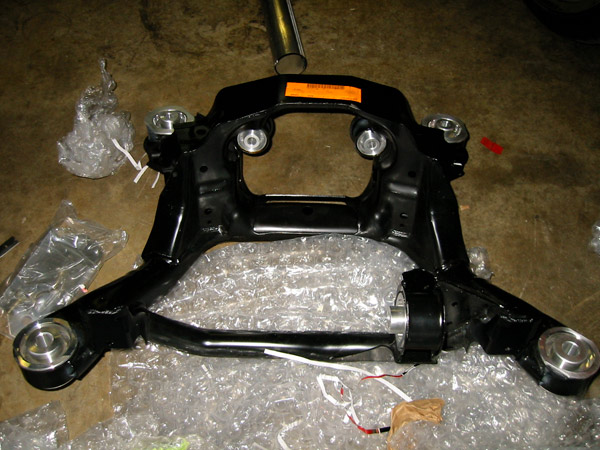
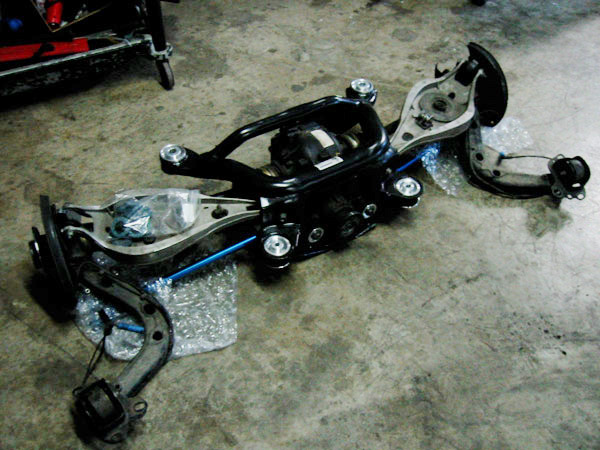
All assembled:
I forgot - I ordered shiny blue Turner adjustable rear camber arms!
April 7, 2006 wrote:I guess today I'm officially half-way there. Today was kinda rough. I will put it this way. I was supposed to go to work after lunch... and I just got home from Batlground.
In order to reinforce the front subframe mounting points... you have to drop the gas tank... which should have been easy - but it's German... so it wasn't. Once I finally got it out, the remaining mount points ground down to metal, battery, alternator, and ECU disconnected... we had to rig the rear end on a dolly and carefully move the car over where the welder was, because I was on the far lift - where the welder doesn't reach.
We got it over there, all prepped and ready to weld... got two of the plates welded in the bottom mounts... and ran out of argon. SO we'll have to finish welding tomorrow. I really HAVE to go to work tomorrow - so I won't get much done after I get out of work - so it's going to be a Saturday gig getting the rear-end and that STUPID gas tank back in the car. She'll still need an alignment as well.
Anyway... I'm tired as sheeeeot... so I'll leave you widda few pictures.
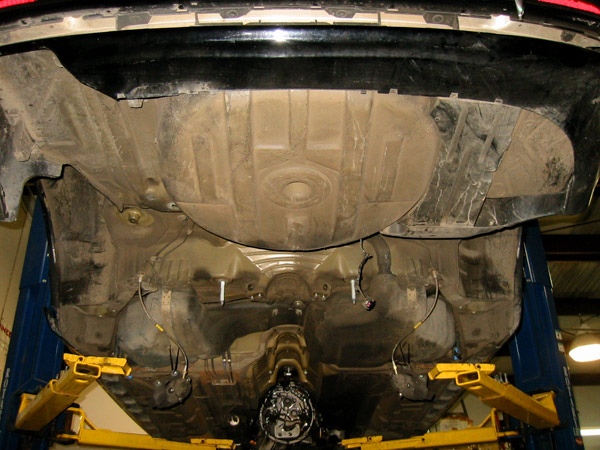
Bye-bye stubborn gas tank.
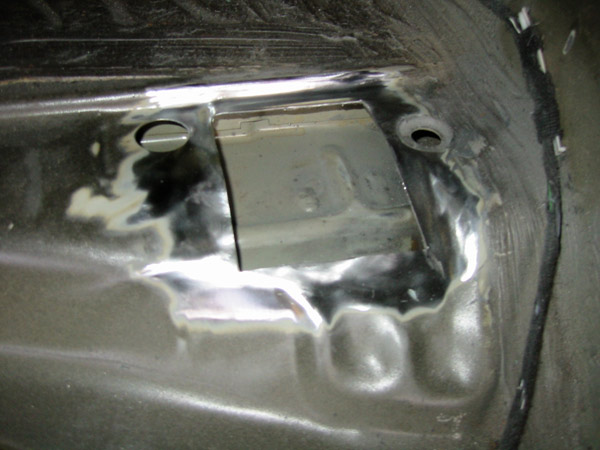
Cuts inside the trunk above the mounting points:
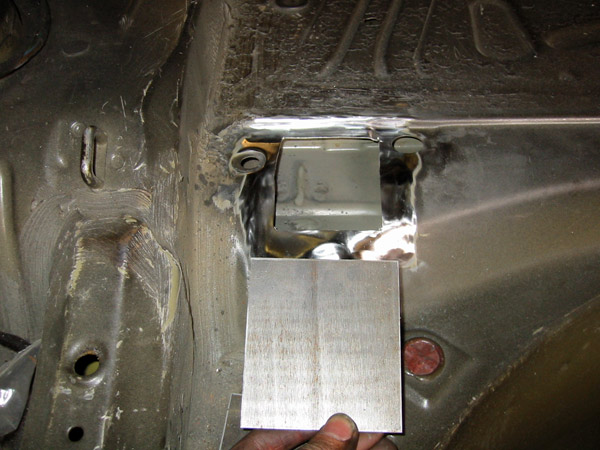
Ground down METAL ready to weld:
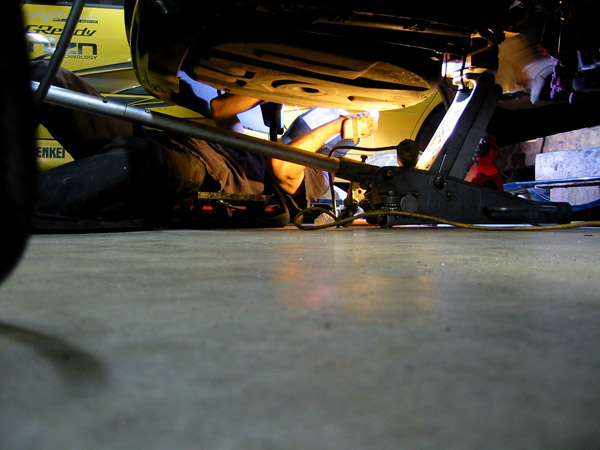
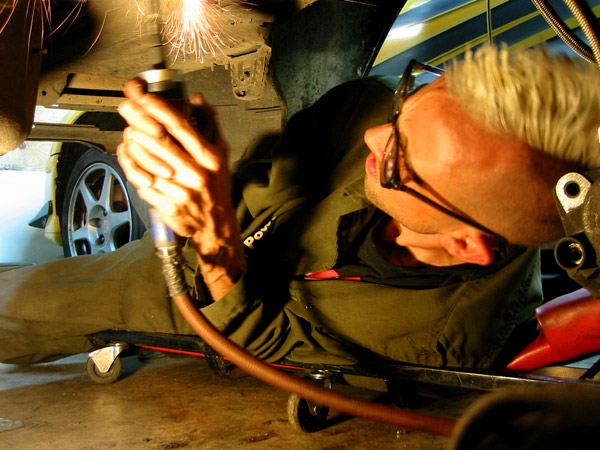
Daniel Willie behind the stick:
GRINDING METAL!
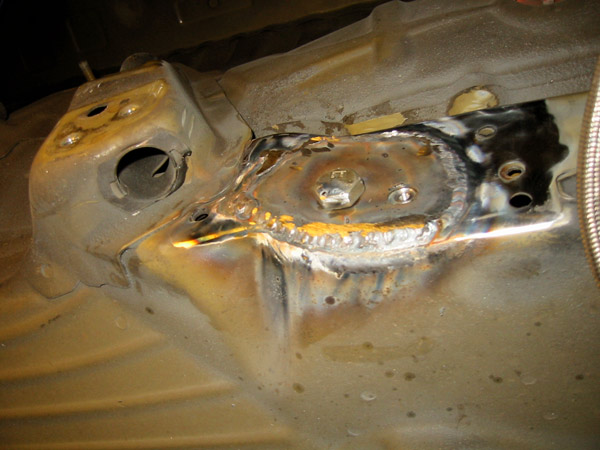
Driver side rear lower reinforcement:
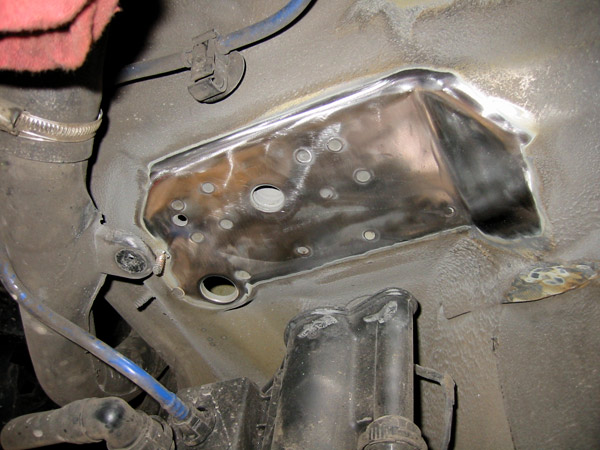
Driver side front lower reinforcement:
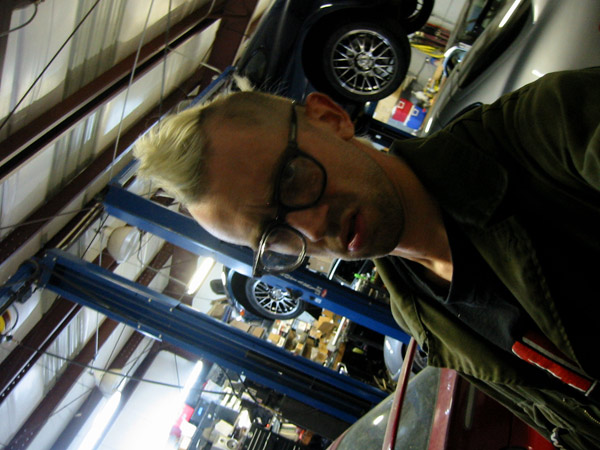
My shop glasses from high skook pwn u.
AND, I'll end you with my dirty arsed mohawk... it's shower-time.
I finished this crazy project with just enough time to make it to the 1st round of Drift Fury with 0 hours of sleep, and somehow managed a 3rd place finish!
Shortly thereafter... I had to drop a new radiator in. The heat shield that keeps my intake filter nice and cool, also heat-soaks everything else in my engine bay... especially right around the outside of that heat shield.
At the time, I couldn't find anyone to make an aluminum radiator for my car... so another OEM rad had to do.
I knew some of this would end up out of order... I almost forgot about the CSL trunk I picked up from Turner around March 2006. I think this may have been a prototype trunk... it was just a fiberglass shell. No way to install the factory trunk latch, or keyhole without going dremel crazy... so I used some rad Protex fasteners. We also fiberglassed over the ol' keyhole.
Next up... it was coilover time. I needed these FOREVER. It helped with the body roll... but didn't eliminate it. Bilstein PSS-9 Coilovers, with K-Mac camber/caster plates.
Around that time, I also finally got a long overdue front strut tower brace.
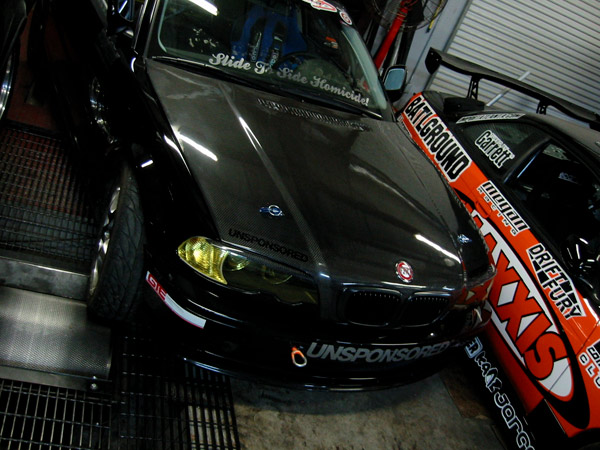
Right before Round 2 of Formula D in Atlanta... I put a full graphics scheme on the car.
This project, like many others... was completed with a few hours to spare before I had to be up at Road Atlanta for tech inspection.
As you can tell... I wasn't happy about getting no sleep before the big event.
The new graphics in action at Road Atlanta:
Last edited by andysapp on Tue Jan 15, 2008 11:48 pm, edited 1 time in total.
With the 6-bulb strobe kit, and 12-stick Tireflys ColorMorphics lighting system in/under the car... there was a good bit of wiring scattered through the car, as well as three breaker-boxes (one for the strobes, and two for the lighting system). All of this was once installed behind the driver seat... and was pretty ugly. I figured I could re-wire everything under the passenger seat, and make everything look neater.
I also made a switch panel for the ashtray to control everything.
All loomed up... looking better.
To shield the wiring exposed once the seat was back in, I used a spare piece of carbon fiber I had lying around.
Around this time... I took an illustration by my favorite artist, and made a graphic to wrap my hood. I ended up mis-measuring the curvature of the very top of the hood (near the vents), rendering my wrap useless for the hood. I decided to use it on the roof instead. It wasn't quite tall enough... but still turned out rad!
Using the leftover vinyl from the roof, I decided I'd wrap my rollcage.
Here's a decent shot of the floor panel I fabbed up when I pulled the front carpet out. It turned out pretty well for a 1st attempt.
Right before the Nopi Nationals demos in 2006... I landed a deal with ViS Racing Sports for a lip kit for the car. This was one of the biggest visual transformations for the car.
I think it made it look like a real drift car!
The front lip... unpainted.
Up at Jeff's Auto Restoration before the install... the last shots of the e46 before the kit!
Jeff at work installing the kit.
At GTE later that night for a quick alignment.
The SUPER dick hood graphic that landed on the car.
The illustration was done by my good friend Dosa Kim (www.dosakim.com).
Kitted out... precision aligned, and ready for battle.
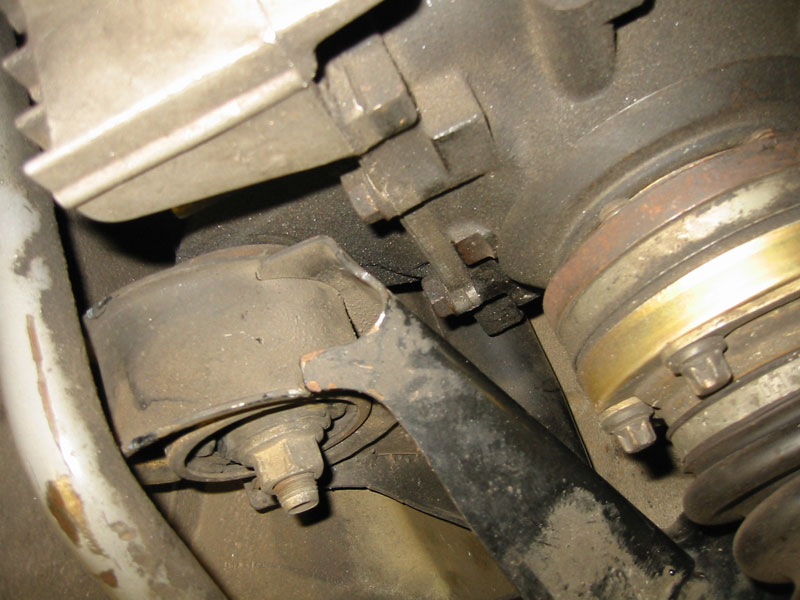
At Round 2 of Formula D '07 in Atlanta... I magically managed to obliterate my motor mounts. After not doing so great at the event... I picked up a set of billet aluminum motor/trans mounts from Turner. These pieces are dick!
See what I mean? OBLITERATED.
Motor-mounted.
Trans-mounted.
Random shot of my finned diff-cover from a Z4.
These mounts made a HUGE difference in the car. Throttle response felt so much more accurate. It also made my car sound like a crazy racecar from inside.
The ColorMorphics digital lighting I had under the car was installed on the frame rail, so they would get torn off every time I pulled on/off the trailer. It also looked like I had little rockets under my car:
I got to thinking about how to remedy the situation... and came up with the following solution.
By attaching the light sticks to a long pipe, I was able to tuck the entire piece up under the frame rail... which protects it a lot better. It also keeps them out of plain view.