I really hope this will fix the car, and our lives can go back to sunshine, smiles and tire smoke!andysapp wrote:Yeah dude... let me know what you find out. It seems too easy to be true to me.

Moderators: charlie, CodyW, Rhoad Racing


May 02, 2009 wrote:MAJOR progress today. I don't think this car knew what hit it.
The calm before the storm...
Treehouse bushings versus the stock 60mm.
Treehouse bushing installed.
Old guibo. You can see where it tears under stress. This one is pretty tame compared to some of the others we've pulled out of this car.
Who needs a transmission stand? Matt Foerst manhandling the transmission from the motor.
Hard to believe this is only the 2nd transmission that has been in this car.
OEM e34 M5 pressure plate.
UUC Motorwerks lightweight flywheel.
Clutch Specialties 6-puck ceramic installed.
Old e35 M5 throwout bearing versus the new one. Thankfully... Global Imports BMW had one of these in stock.
Ready for re-install...
Turner RTAB versus the stock bushing.
Pressed in and ready to be bolted up.
The center support bearing was destroyed. We had to make a mad-dash across town to pick up a new one from United BMW.
The new one... ready to rock.
Trans back in, driveshaft bolted up.
The old ITG filter. I do mean OLD.
See? This thing is literally falling apart.
Prep team from left to right: Erin Sanford, Matt Foerst, Chris Stein, Michael Sarol, Byron Hill.
New sparklers...
To replace the old ones.
Trying to troubleshoot the hydro e-brake install... and narrow down the best plan of attack.
Random, awesome beef jerky man.
Random snap of my rear lip. Destroyed and eaten away by years of molten rubber bombardment.
Aspec tips c/o Foerst Motorwerks!!! These things are dick!
Test fitting...
Sanford behind the stick.
Brantley finishing the welding.
The end of the night.
Tomorrow we need to weld hangers up for the exhaust. I'm making an early run to Summit Racing in McDonough for some Earl's fittings that should help us run the hydro e-brake in-line before the ABS module.
HUUUUUUGE huge thanks to Matt Foerst and Erin Sanford. They put hella wrench time on the car... and were a gigantic help. I never could have got all this done today without them. Thanks to Michael Sarol for driving me all over town to pick up parts. I love you guys. SERIOUSLY.
May 03, 2009 wrote:The result of an early morning run to Summit Racing. The stainless lines and fitting that came with the MAX e-brake were metric. The only additional brake line we could find on a Saturday evening was 1/4" standard line. This line was the closest to the OEM line we would be splicing. The Earl's fitting would allow us to utilize the standard fitting on the 1/4" line, and adapt it to the metric lines that came with the e-brake.
This is the OEM line that runs from the brake master to the ABS module. After the ABS module, it splits left and right to the rear, so we deduced that our best bet would be to run the e-brake inline here.
Stainless lines run in-line between the brake master and the e-brake.
The stainless lines then got run under the dash and along the transmission tunnel to the mounting point of the e-brake.
This is basically where the e-brake would end up. I'm trying to keep my hand movement to a minimum between the steering wheel, shifter, and e-brake.
Final touches on the exhaust hangers.
Foerst Motorworks has hella Jag clientele.
Off the lift and ready to KILL. All she needs is an alignment and a wash.
We had to bleed the brakes like 5-6 times. Both manually and with a power bleeder. I thought the guys from Parts Shop Max were joking when they said you had to bleed it a lot. I gave the e-brake a couple solid pulls in the parking lot. It was raining, but it locks up like a champ!
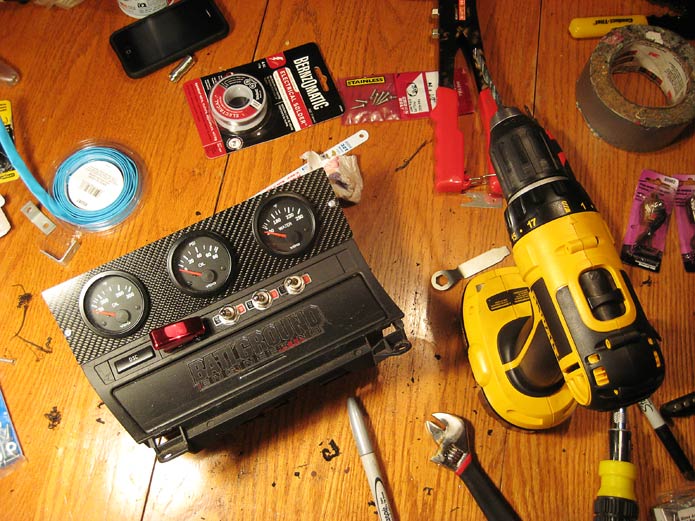
May 07, 2009 wrote:On a whim... I decided I wanted to re-wire my strobe switches, and mount my gauges in the dash. I made the old switch panel and the gauge cluster out of a sheet of carbon fiber many years back. When I bought the VDO gauges back in 2005... Summit sent me the wrong sending units, and I never got around to ordering the correct ones. The cluster has laid dormant in my garage ever since.
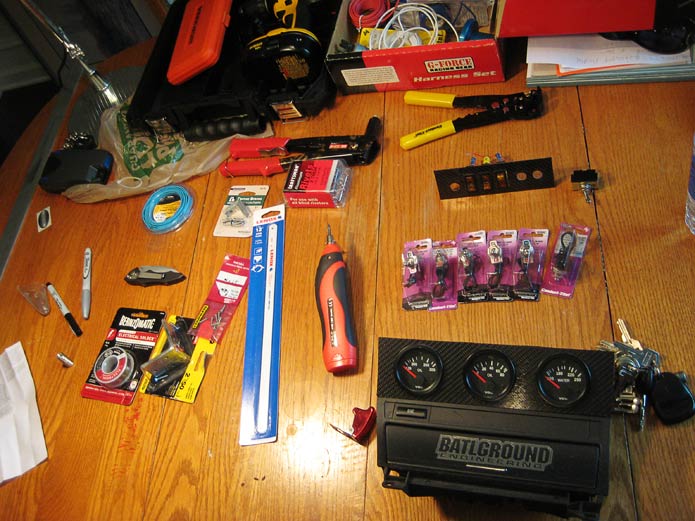
This is basically what I started with. I pulled the center dash console, made a quick Home Depot run for some brackets and solder, and snagged some metal toggles from Auto Zone.
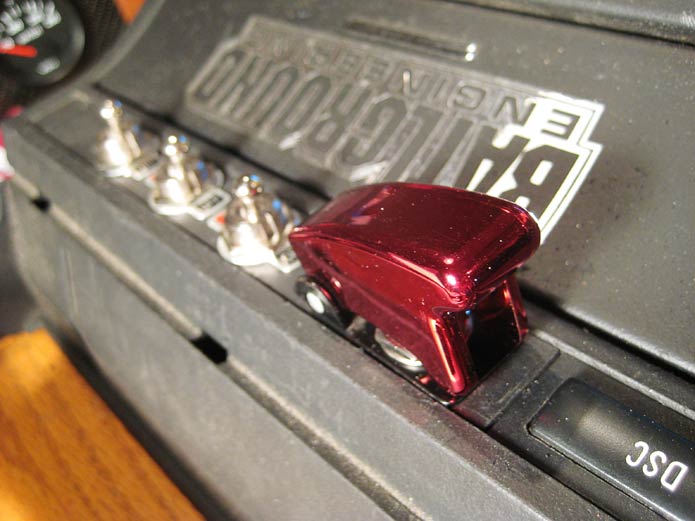
This didn't take long. I like this setup much better than the carbon fiber plate that used to sit in the ashtray. This is much more solid.
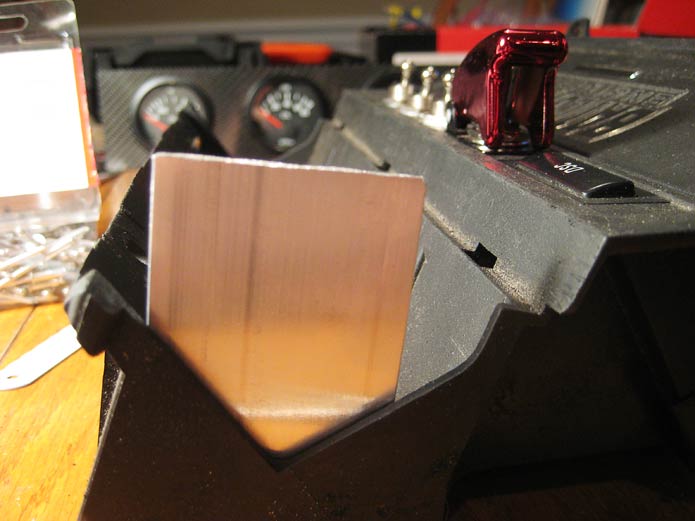
Onto the gauge cluster install... I snagged some aluminum from Home Depot, and cut it to line up with the back of the carbon fiber that holds the gauges.
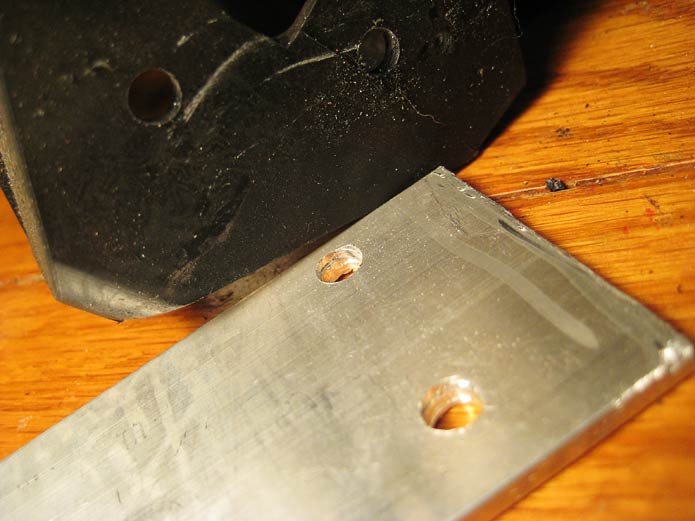
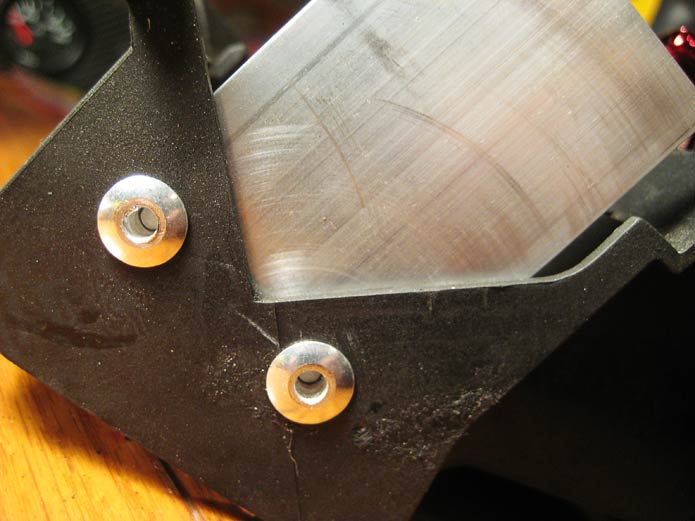
Drilled matching holes in the aluminum, and the console.
Pop-riveted them into place.
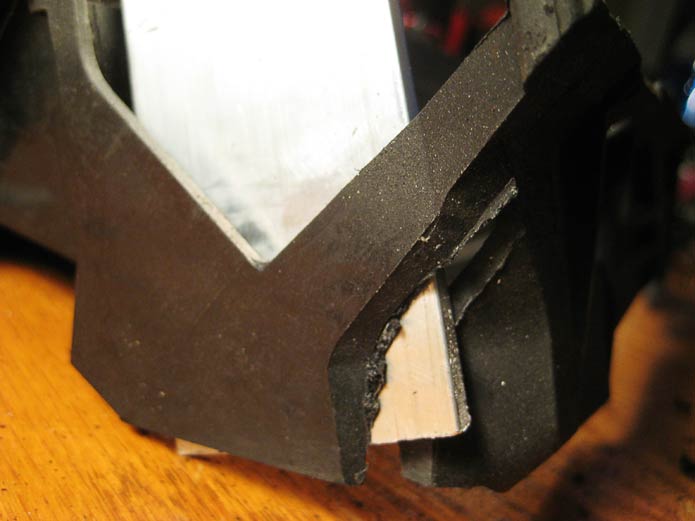
The right side had to be Dremel'd out with a cutting wheel, because it had an angled edge that the left side didn't have.
Dremel'd two of the tabs slightly to allow for a flush fitment.
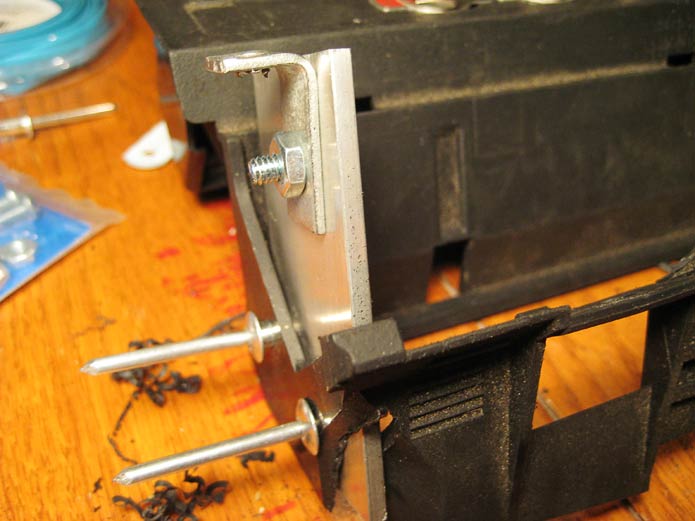
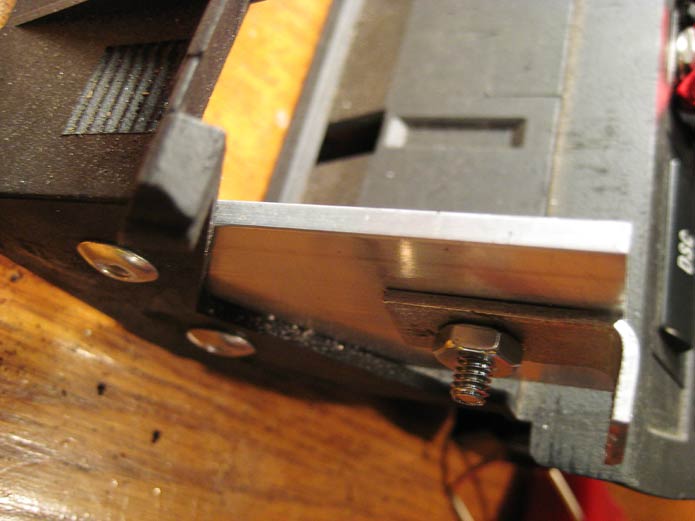
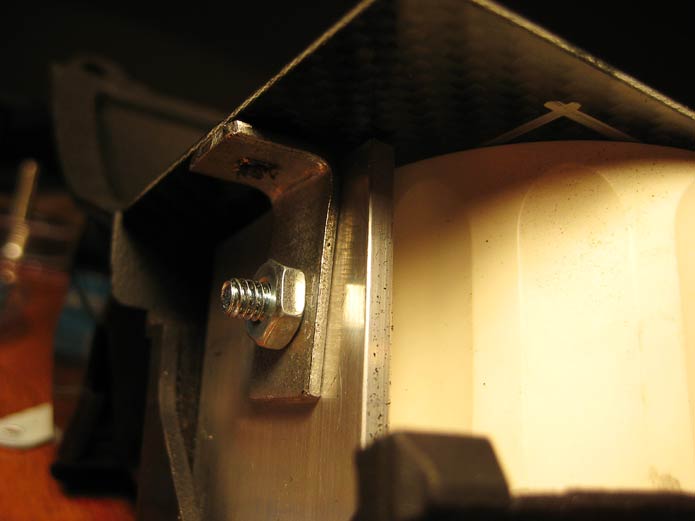
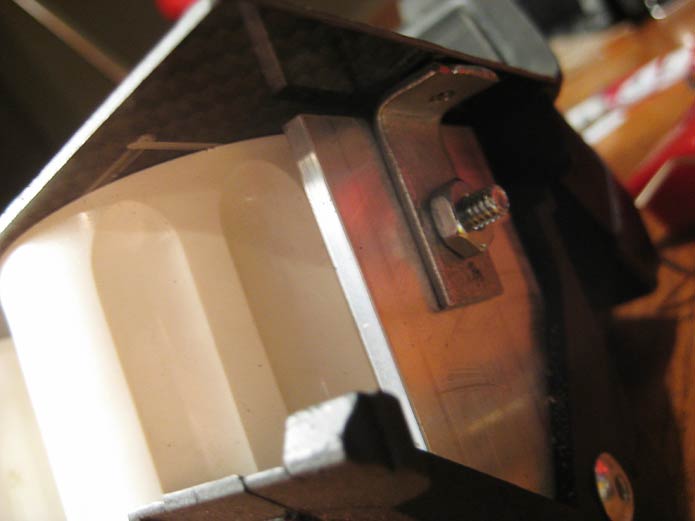
Then I cut one of the brackets to size, and bolted it to the aluminum plate.
You can see where this is going.
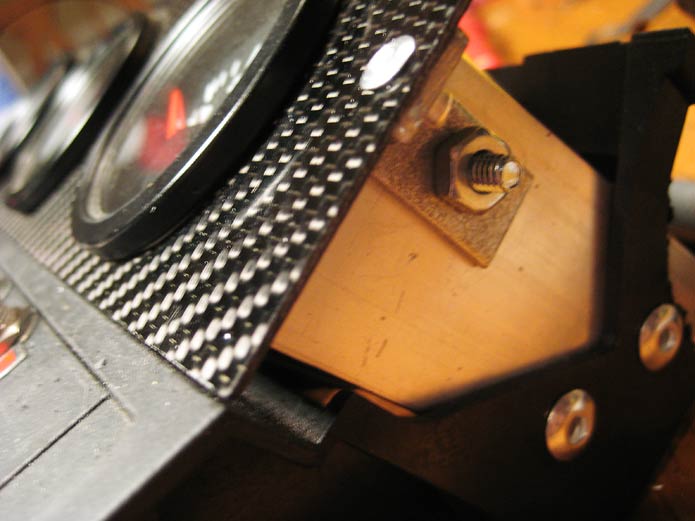
Riveted the cluster to the bracket.
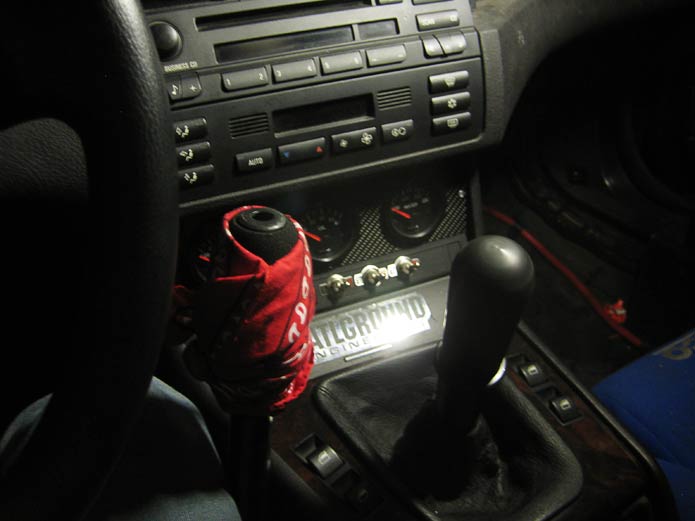
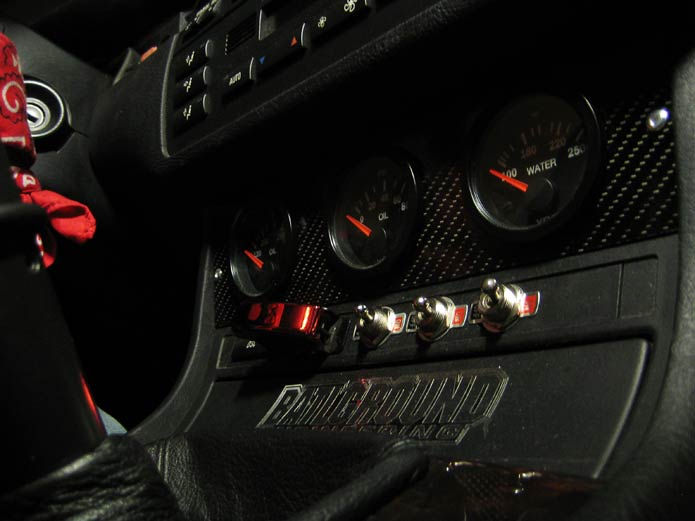
Re-wired the strobe switches to the control module, and installed the entire center console back in the car.